Configuring a probe lets you decide what tests will be monitored on the target machine. It also creates a link and an invitation email for the user installing and running that probe on the given machine. To configure a new probe, do the following:
About this task: To complete this task, do the following:
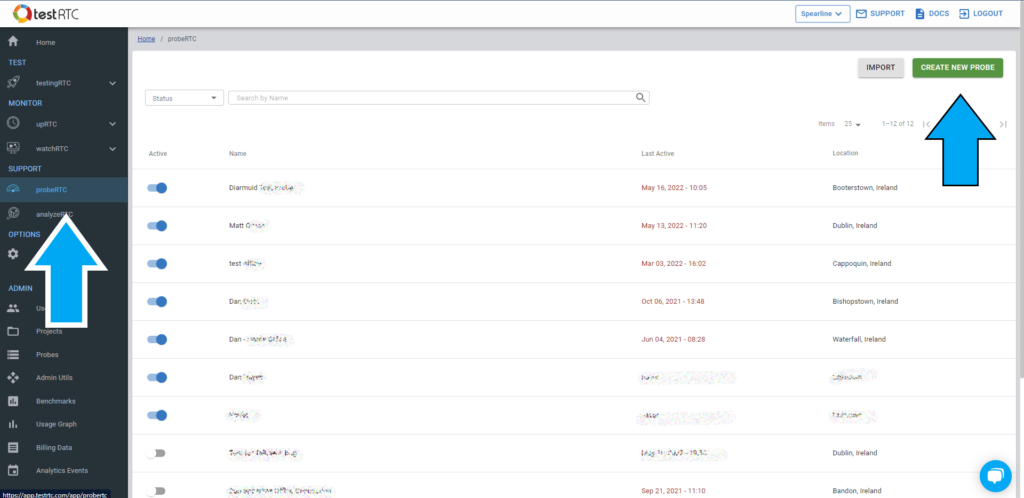
- Navigate to the probeRTC administration screen and click the Create New Probe button. probeRTC can be accessed via the testRTC sidebar.
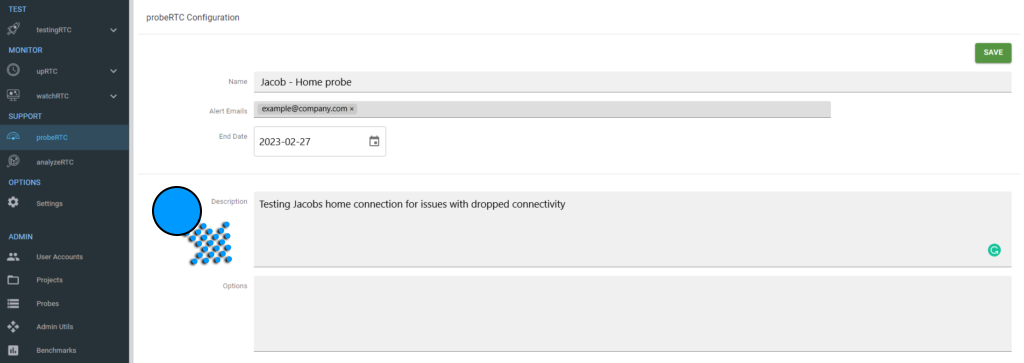
- Add the following probe details.
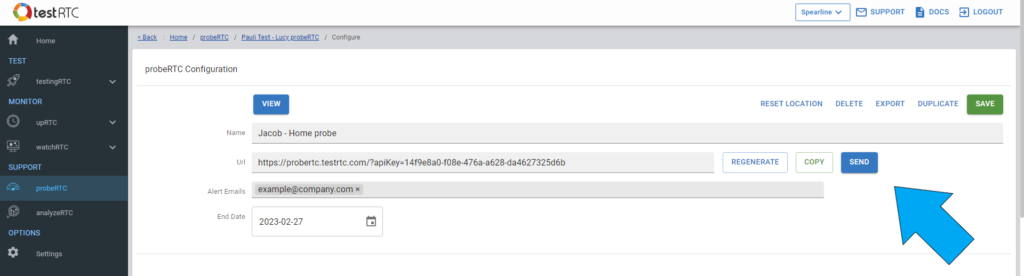
- Name: When creating a probe, give it a clear name for easy tracking and association with location, user, or device.
- Alert Emails: This is the email address of the user who will be monitoring the test and all results.
- End Date: This section allows the administrator to set an optional end date for the probe, but it can also be disabled remotely from the main admin panel at any time.
- Description: You can add a short description to the probe, giving you more context and information about where and how the probe is being deployed. This information is displayed on the probe’s results page as well.
- Options: There is a need to modify a probe’s behavior from time to time, especially when troubleshooting is required. The Options section allows you to add further variables to your test if necessary.
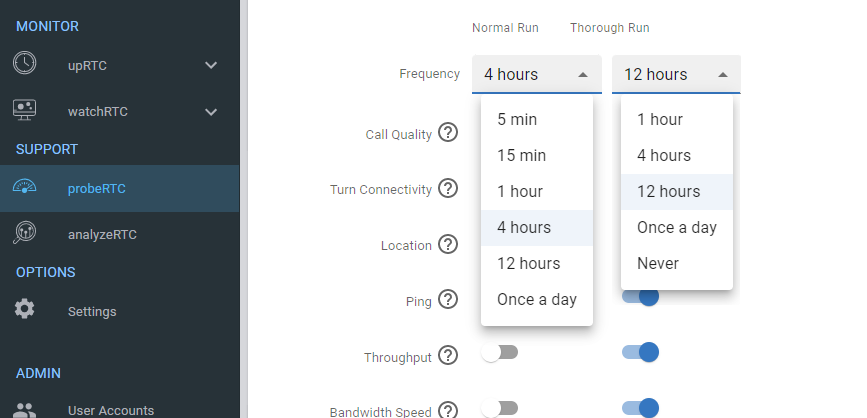
- Configure the testing frequency by choosing either Normal Run or Thorough Run and picking a frequency from the drop-down menu.
- Normal Run: In the frequency section, select a high frequency for tests that do not consume much bitrate, with options ranging from every 5 minutes to once a day for normal runs.
- Thorough Run: Select a high frequency for tests that do not consume much bitrate. Options range from 1 hour to once a day.
- Configure the parameters you want to monitor using the toggle switches to turn them on/off. Each parameter has two columns. You can select different tests and define them under these two frequency configurations.
Note: The list of tests available in your account will be different than what is shown above and will be based on the configuration selected for your specific use case during onboarding you to the probeRTC product. It is considered good practice to also include whatever you decide to place in your Normal Run as part of your Thorough Run.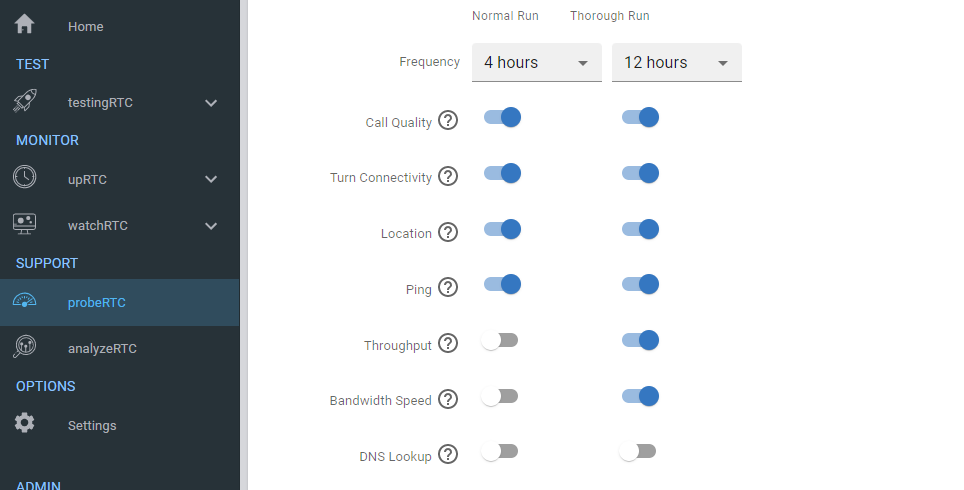
- Any URLs entered here, both HTTPS and secure websockets will be checked to see if they can be reached and connected to from the browser. This is important for users behind restrictive networks where domains must be whitelisted. See the DNS Lookup Widget for more info.
- After completing the configuration, click the SAVE button to generate the probe URL.
- After generating the probe, scroll back to the top of the screen to locate the URL. Share this URL with the end user, as it contains a distinctive API key. Additionally, the email which is received will provide the end user with comprehensive instructions on how to commence the probe using their preferred method.
- Click SEND
- Enter the users’s email address
- Click SEND
Notes:
- When links are sent, we attach instructions for running the probe using a web browser along with applications for windows and macOS that include Instructions to help users with installation.
- Links can be regenerated if necessary using the REGENERATE button. Click here to learn more about regenerating links.